Repotting Your Dwarf Fruit Trees in Containers: A Complete Guide
Growing dwarf fruit trees in containers is a wonderfully rewarding experience, especially for those with limited space. However, as your trees grow, their roots will eventually outgrow their pots. This is when repotting becomes essential for continued health and productivity. This guide will walk you through everything you need to know about repotting your dwarf fruit trees, ensuring they have the room to grow and thrive.
Why Repotting is Crucial
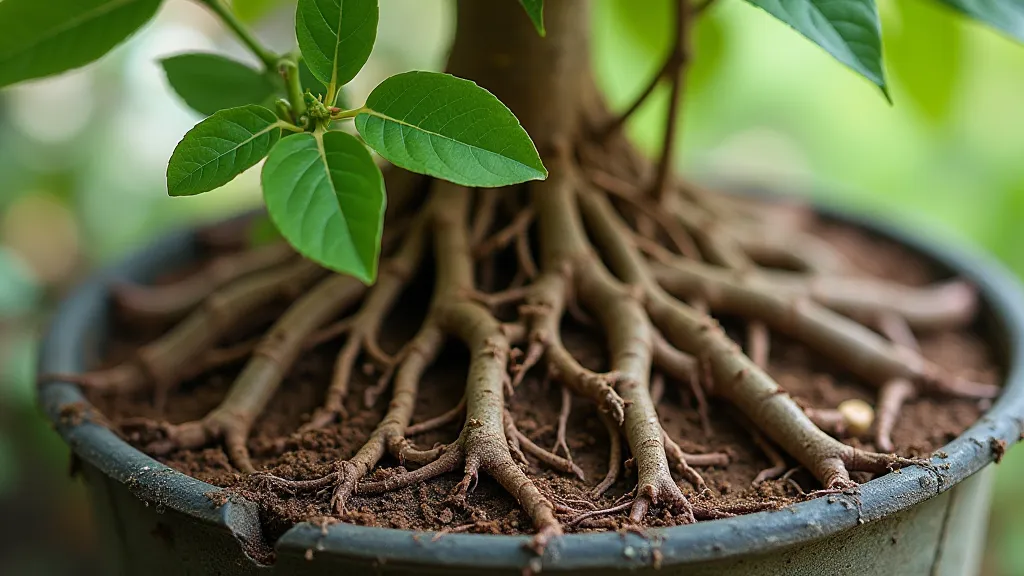
Think of a pot as a home for your tree's roots. Just like any house, it can become too small. When roots become root-bound – circling the inside of the pot – they can restrict water and nutrient uptake. This leads to stunted growth, reduced fruit production, and a stressed tree. Repotting provides fresh soil, space for root expansion, and revitalizes the growing medium.
When to Repot Your Dwarf Fruit Tree
Determining when to repot is key. Here are a few signs to look for:
- Roots Circling the Pot: This is the most obvious sign. Gently remove the tree from the pot and examine the root ball.
- Roots Emerging from Drainage Holes: Visible roots poking through the bottom of the pot indicate the tree is cramped.
- Slowed Growth: If your tree's growth has noticeably slowed, even with proper watering and fertilization, it might be root-bound.
- Frequent Watering Needed: A root-bound tree dries out much faster, requiring more frequent watering.
- Pot Deforms: The pot may show signs of bulging or deforming due to the pressure from the roots.
Generally, you should repot every 2-3 years for younger trees and every 3-5 years for more mature ones. Smaller fruiting trees may need repotting more frequently.
What You'll Need
- New Pot: Choose a pot that's 2-4 inches larger in diameter than the current pot. Ensure it has adequate drainage holes. Terracotta or plastic pots are both suitable.
- Potting Mix: Use a high-quality potting mix specifically formulated for fruit trees or container gardening. A mix of peat moss, perlite, and vermiculite is a good choice.
- Gardening Gloves: To protect your hands.
- Trowel or Small Shovel: For moving soil.
- Watering Can: To water the newly repotted tree.
- Pruning Shears (Optional): For trimming any circling roots.
Step-by-Step Repotting Guide
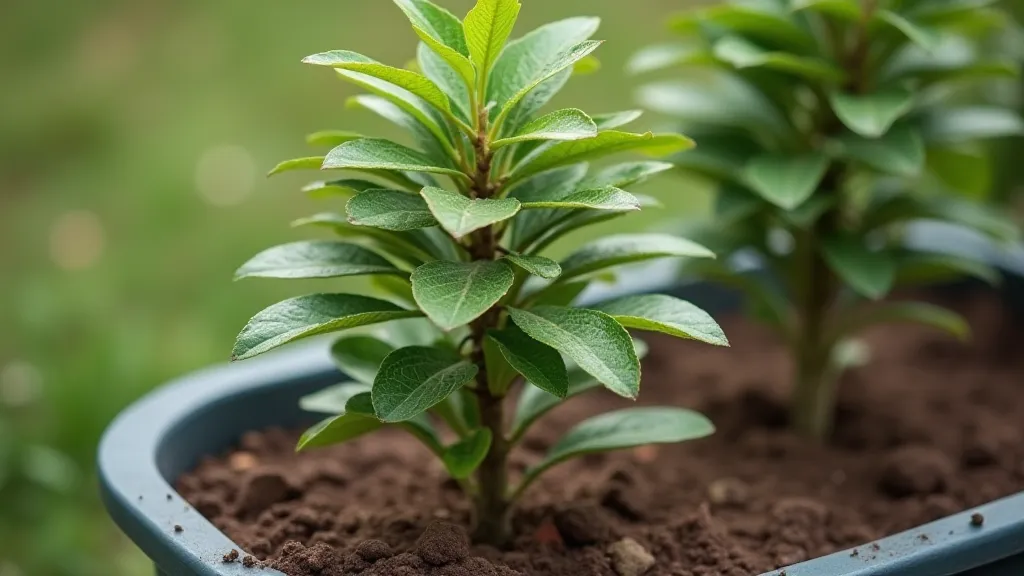
- Prepare the New Pot: Add a layer of potting mix to the bottom of the new pot, enough to raise the root ball to the desired height.
- Remove the Tree from the Old Pot: Gently tip the old pot on its side and tap the bottom to loosen the root ball. If the tree is stuck, you may need to use a trowel to carefully pry it out.
- Inspect the Root Ball: Carefully examine the roots. Gently loosen any circling roots with your fingers or use pruning shears to trim them. Don’t be afraid to trim – it encourages new, outward-growing roots.
- Position the Tree in the New Pot: Place the root ball in the new pot, ensuring the top of the root ball is about an inch below the rim of the pot.
- Fill in with Potting Mix: Fill the space around the root ball with fresh potting mix, gently firming it as you go.
- Water Thoroughly: Water the newly repotted tree thoroughly until water drains from the drainage holes.
- Post-Repotting Care: Place the tree in a sheltered location away from direct sunlight for a week or two to allow it to adjust. Continue regular watering and fertilizing as usual.

Important Considerations
- Repotting Time: The best time to repot is typically in early spring, just before the tree begins its active growth period.
- Don’t Overpot: Choosing a pot that's too large can lead to root rot, as the excess soil retains too much moisture.
- Soil Amendments: Consider adding a slow-release fertilizer to the potting mix to provide nutrients for the tree.
- Pruning: Light pruning after repotting can help encourage bushier growth.
Repotting your dwarf fruit trees is a necessary part of their ongoing care. By following these steps, you can ensure your trees continue to grow and produce delicious fruit for years to come!


